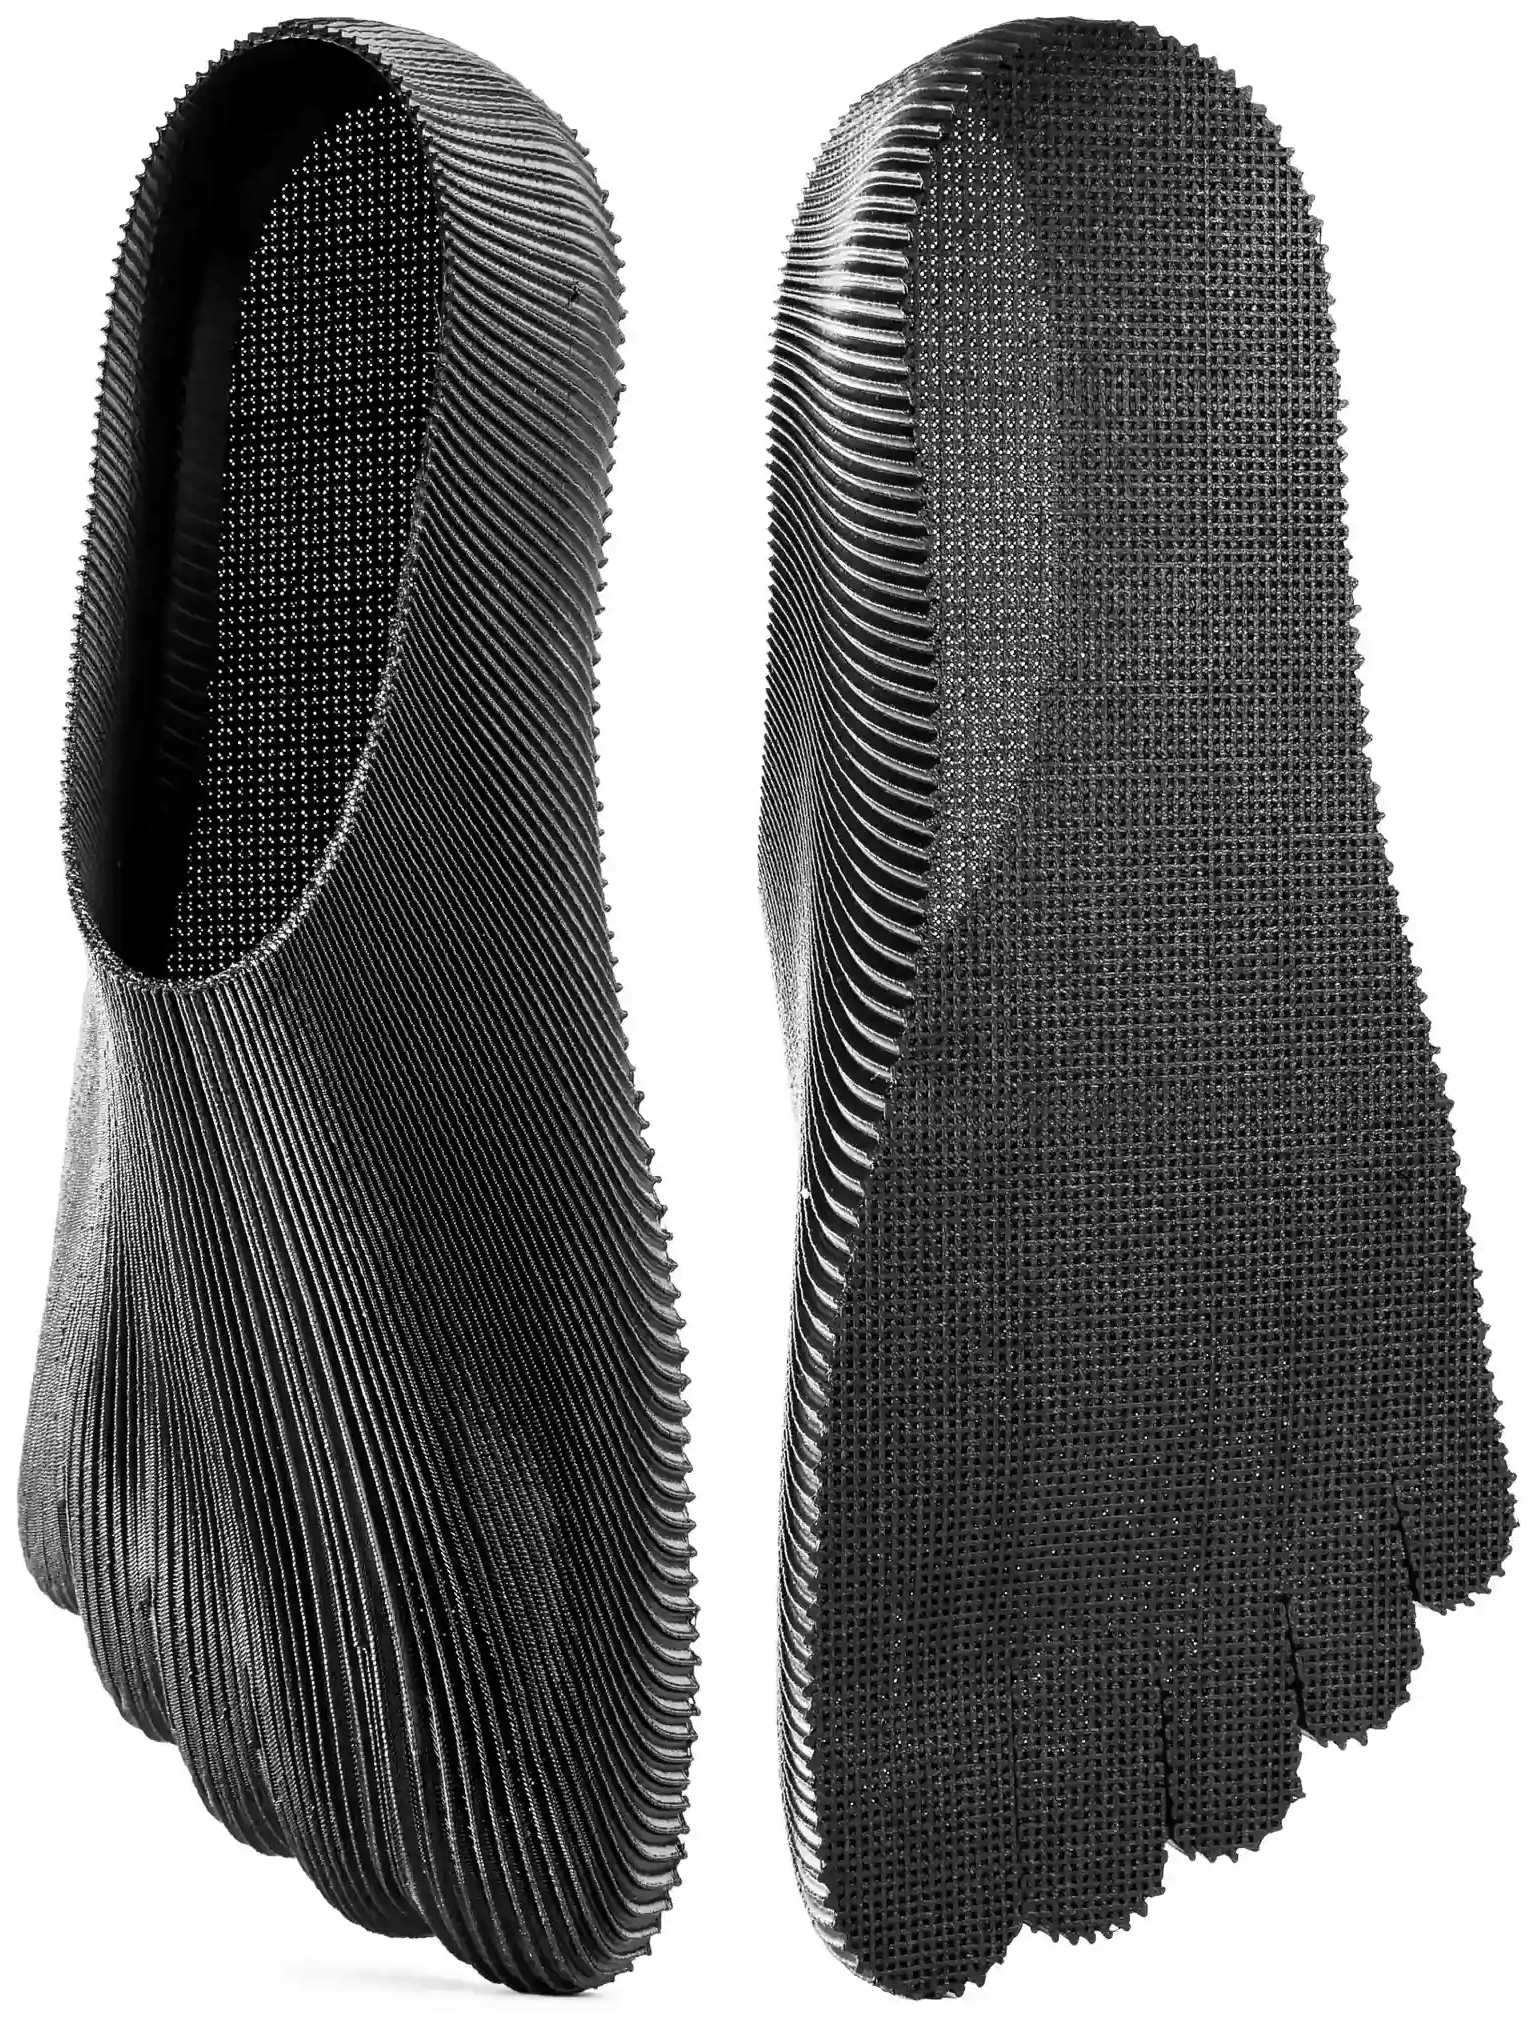
The Bambu A1 is a great printer at its price, but it ships with a quietly frustrating limitation for anyone wanting to print TPU shoes or other flexible parts: the extruder uses one toothed wheel and one smooth idler, not the dual-gear setup the P1S, X1C, X1E, H2D and even the A1 Mini have. On rigid filaments like PLA or PETG this works fine. On soft TPU (85A or below) the idler simply slides on the filament instead of pinching it against the toothed wheel, and the toothed wheel cannot pull the filament down. The print stalls without an obvious error, the nozzle clicks, and you blame your slicer settings for an hour.
Why the A1 specifically struggles
Two things make the A1 the only Bambu printer that needs a hardware mod for soft TPU:
Single-driven extruder. A dual-gear extruder has two toothed wheels turning against each other. Soft TPU gets crushed between them and is pushed down regardless of how slippery the surface is. The A1's smooth idler can only press the filament against one toothed wheel — and pressing a soft, slippery surface is not the same as gripping it.
Fixed idler distance. The stock A1 lever holds the idler at a fixed distance from the toothed wheel. That gap is fine for 1.75mm rigid filament but is slightly too wide for 1.75mm TPU 85A, which compresses under the idler. The toothed wheel ends up gripping nothing.
Fix 1 — install the upgraded extruder lever
The community fix is a printed lever that brings the idler closer to the toothed wheel. The reference design on MakerWorld is the A1 extruder upgrade — Print TPU / TPE / soft materials (model 95155), with over 100k+ downloads at the time of writing. It replaces the original lever in about five minutes with a single screw swap. Print it in PETG or ABS (NOT PLA — the area can get warm during long TPU prints) at high infill.
With the lever installed, soft TPU is finally squeezed between the two wheels instead of sliding past them. The toothed wheel can now do its job.
Fix 2 — kill all filament-path friction
The lever solves the grip problem. The remaining issue is friction along the filament path: every extra curve, every PTFE tube section, every drag from the spool adds resistance the small A1 motor has to overcome. On soft TPU that resistance compresses and buckles the filament before it reaches the hotend.
Remove the AMS. Even the AMS Lite adds friction through its internal feeders and rollers. For TPU, run direct from a spool holder.
Bypass the PTFE tube. The PTFE between the spool/AMS and the toolhead is the biggest source of friction on flexible filaments. The shorter and straighter the path, the better. Many A1 users print TPU with no PTFE at all — the spool sits right above the printer and the filament goes straight into the extruder.
Use a low-friction spool holder. A spool sitting on a fixed shaft drags. A spool on free-spinning bearings does not. We use a Sunlu filament dryer as a permanent low-friction holder — the dryer has two rollers under the spool that turn freely. Even without the heater, it gives the A1 a frictionless path.
Fix 3 — keep TPU dry
TPU absorbs moisture from the air faster than PLA. Wet TPU prints with audible "popping" sounds, leaves stringing, and the surface looks bubbly. Run the filament through a dryer (the same Sunlu unit works fine) at 50°C for 4-6 hours before the first print, and keep it dry between prints. For TPU 85A and softer, drying is not optional.
Slicer settings for A1 + upgraded lever
With the hardware in place, here is the actual River workflow rather than a copy of the stock profile:
Speed. Low. Aim for around 2.5 mm³/s volumetric flow on outer walls, faster only on infill. This is well below the Bambu defaults — soft TPU under-extrudes when pushed too fast even on an upgraded A1.
Retraction. Use 2 mm retraction with 1.2 mm Z-hop. Counter to common advice, short retraction (0.5 mm) causes oozing and stringing on TPU shoes; the longer pull combined with a Z-hop gives cleaner perimeters. Z-hop also avoids the nozzle dragging through soft layers.
Cooling. 30-40% fan. Higher and layer bonding drops; lower and overhangs sag.
Bed temp. 0 °C (off). TPU sticks to the textured PEI plate without bed heat once the first layer adhesion is dialed in, and you save power on prints that run 10+ hours.
Line width + layer height. Depends on the design. Tora: 0.6 mm line width, 0.2 mm layer. G1: 1.0 mm line width, 0.28 mm layer. Onda and every other Grasshopper-generated design: 0.65 mm line width, 0.24 mm layer. Each design page documents the profile we ship.
What to print on an upgraded A1
If you have just upgraded the lever and want to test the setup with something fun and immediately useful, our barefoot TPU shoes are ideal first prints. They use the same flexibility you fought for and validate the whole stack — printer, profile, filament — in one job:
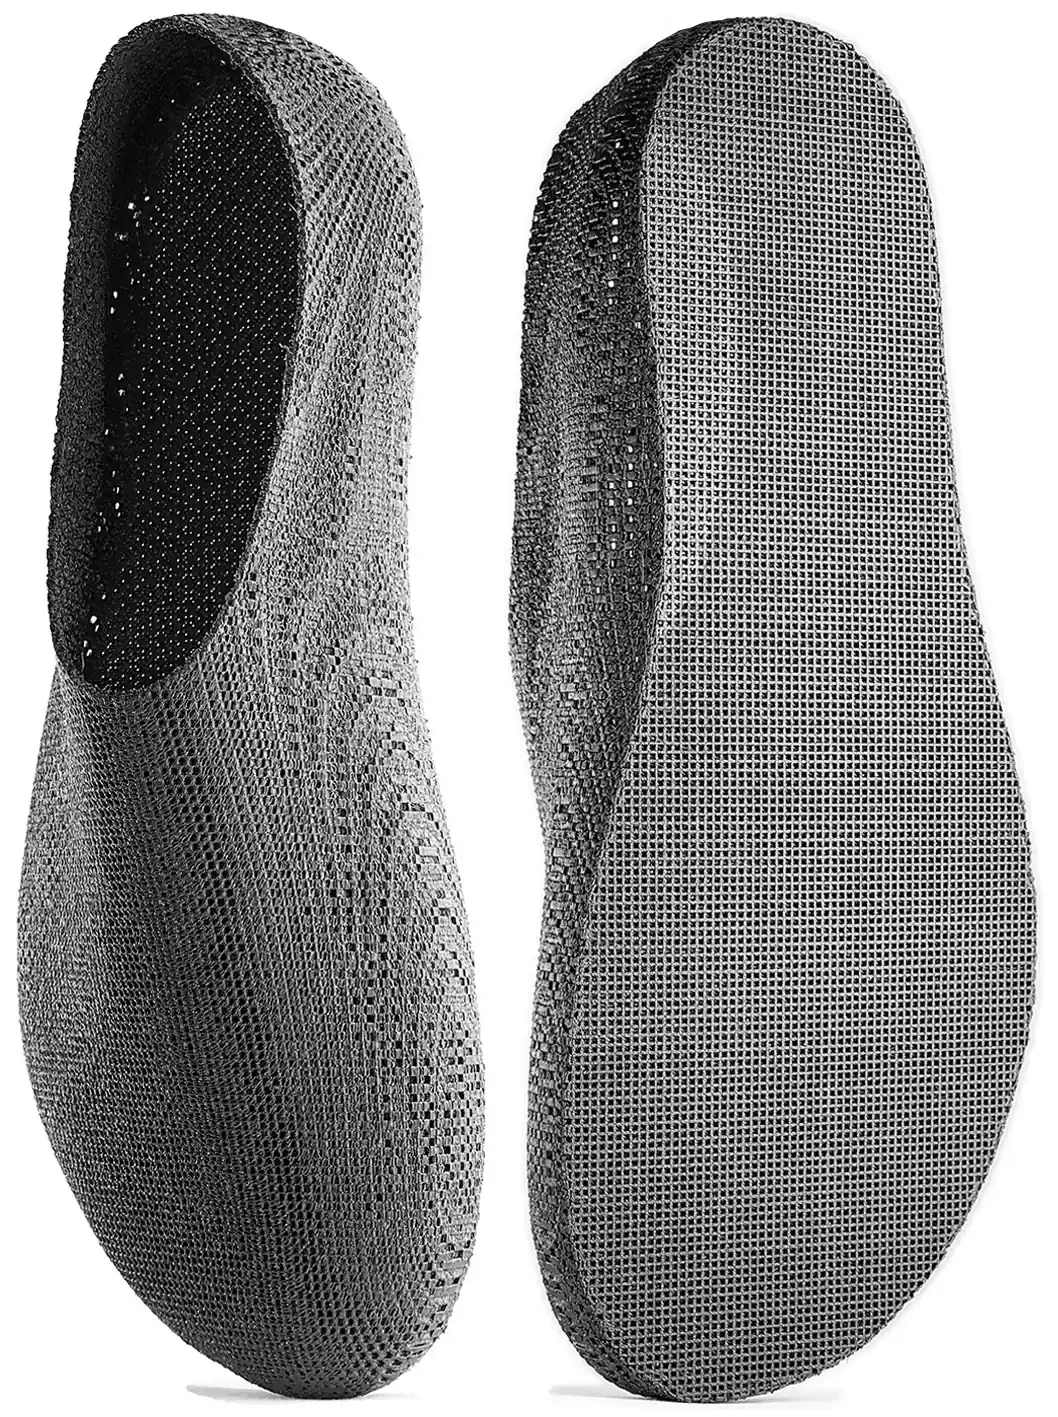
Tora — the easiest TPU shoe to print first
Flat-bottom barefoot shoe with a small-grid TPU pattern. The simplest geometry in the River family, with over 100 verified A1 / A1 Mini / P1S maker prints on MakerWorld.
View Tora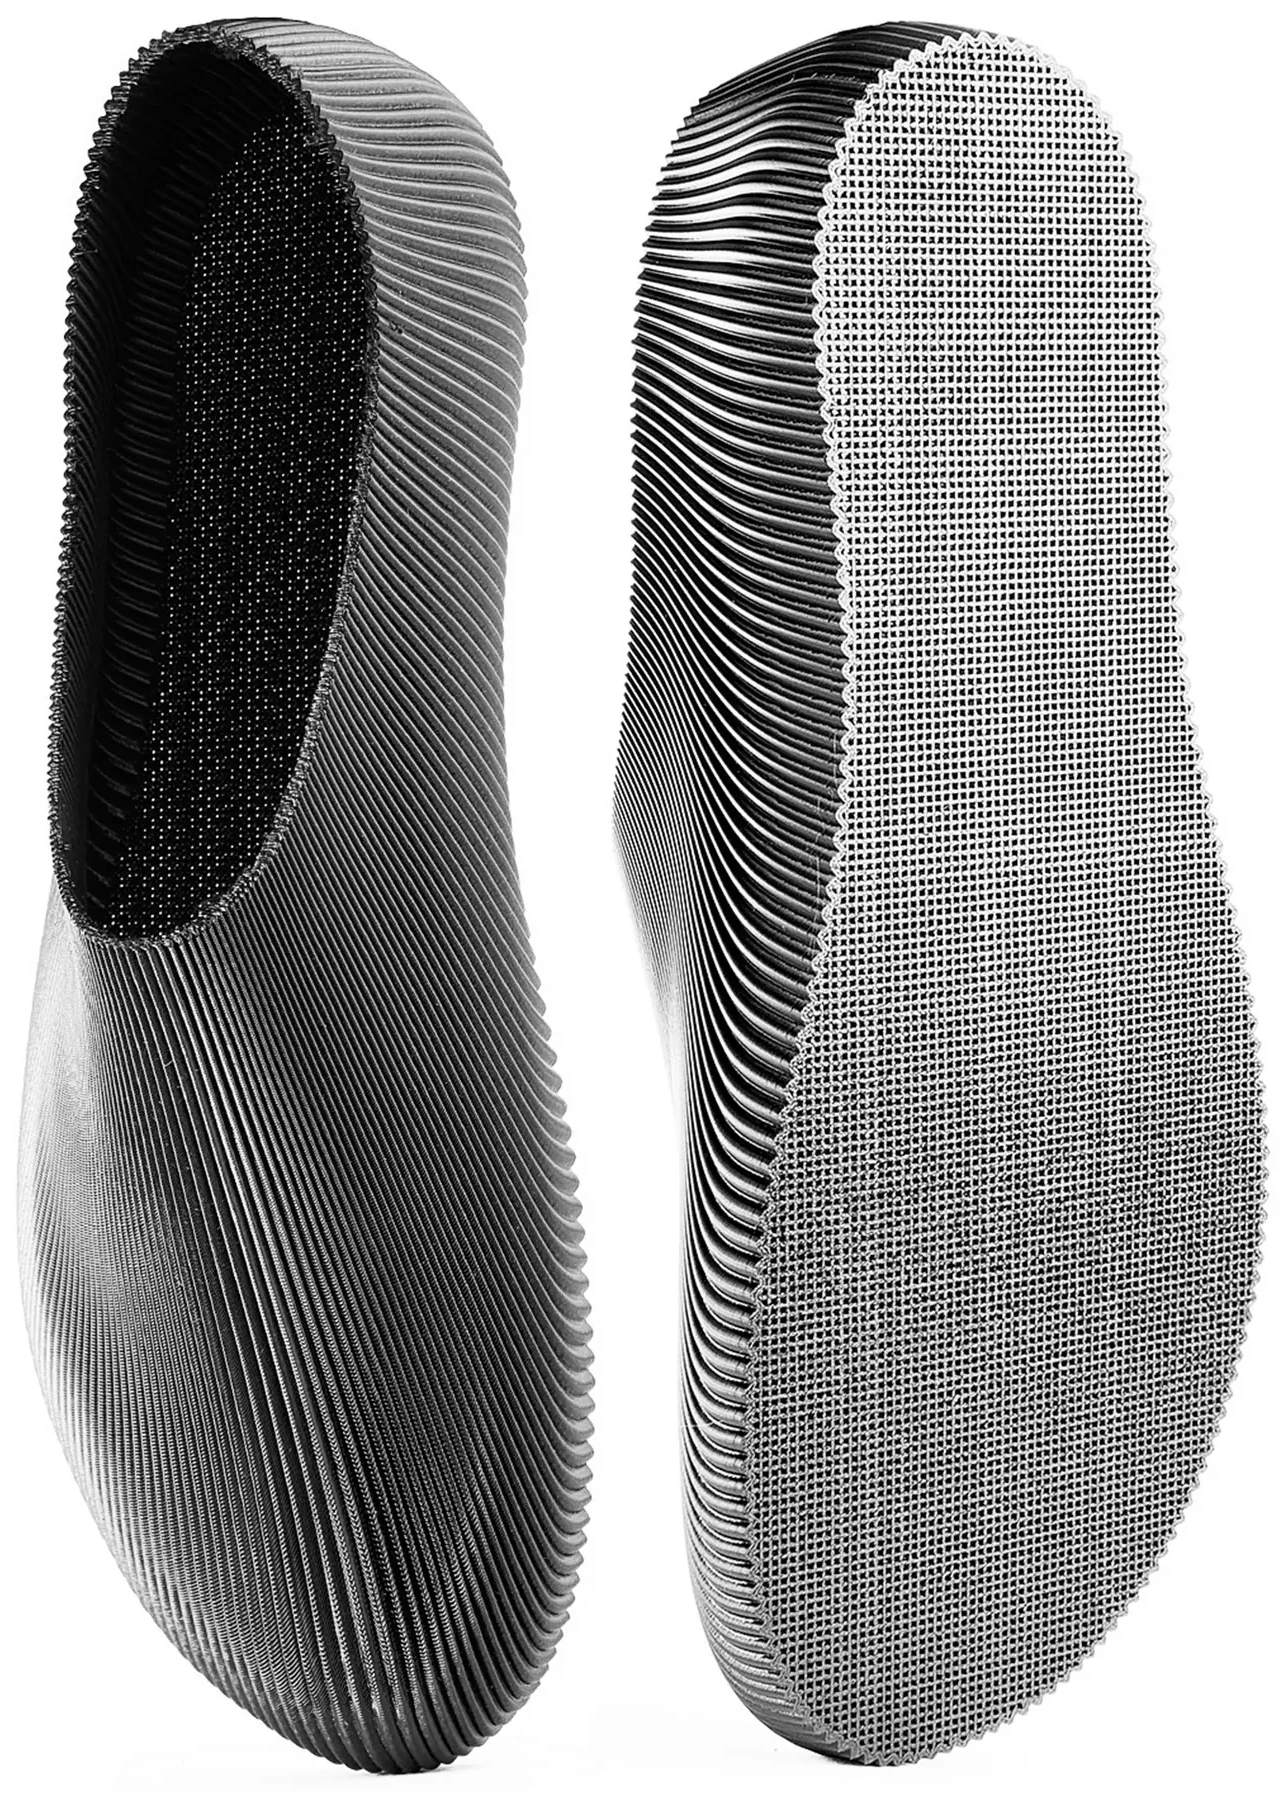
Onda — the most refined barefoot shoe
Smoother inside surface than Tora, semicircular wave pattern generated as the toolpath. Wearable without socks. Recommended TPU 85A.
View OndaFor the broader Bambu Lab context (P1S, X1C, H2D) and the underlying low-friction principles that apply to every Bambu printer, see our complete TPU printing guide for Bambu Lab.